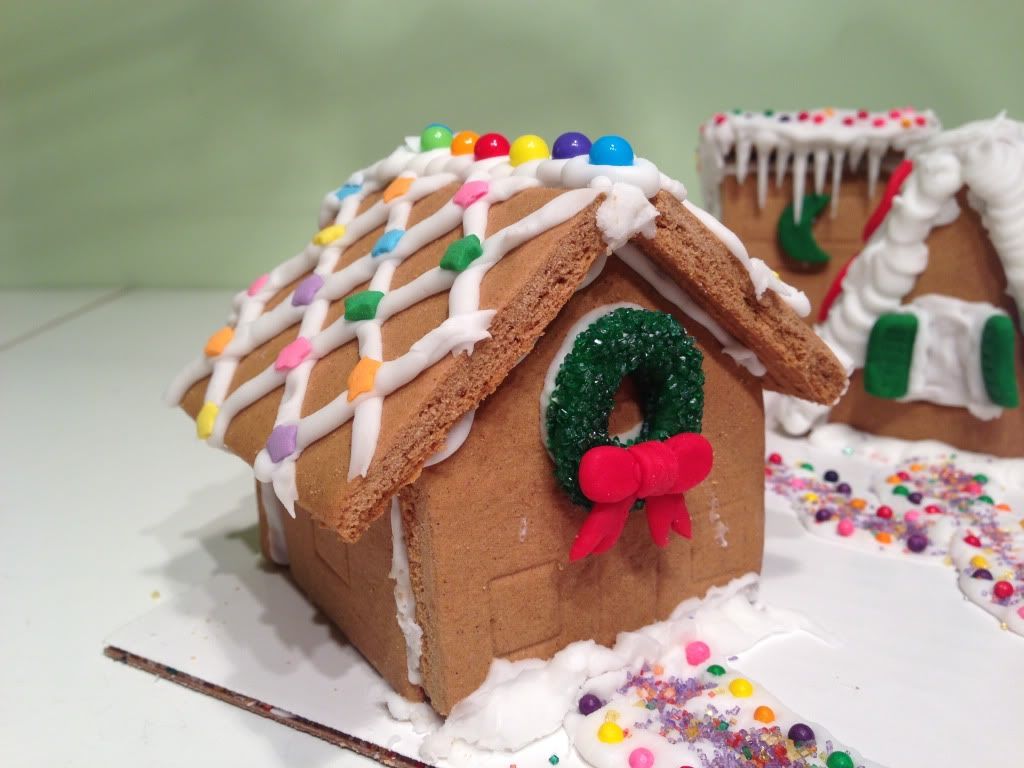
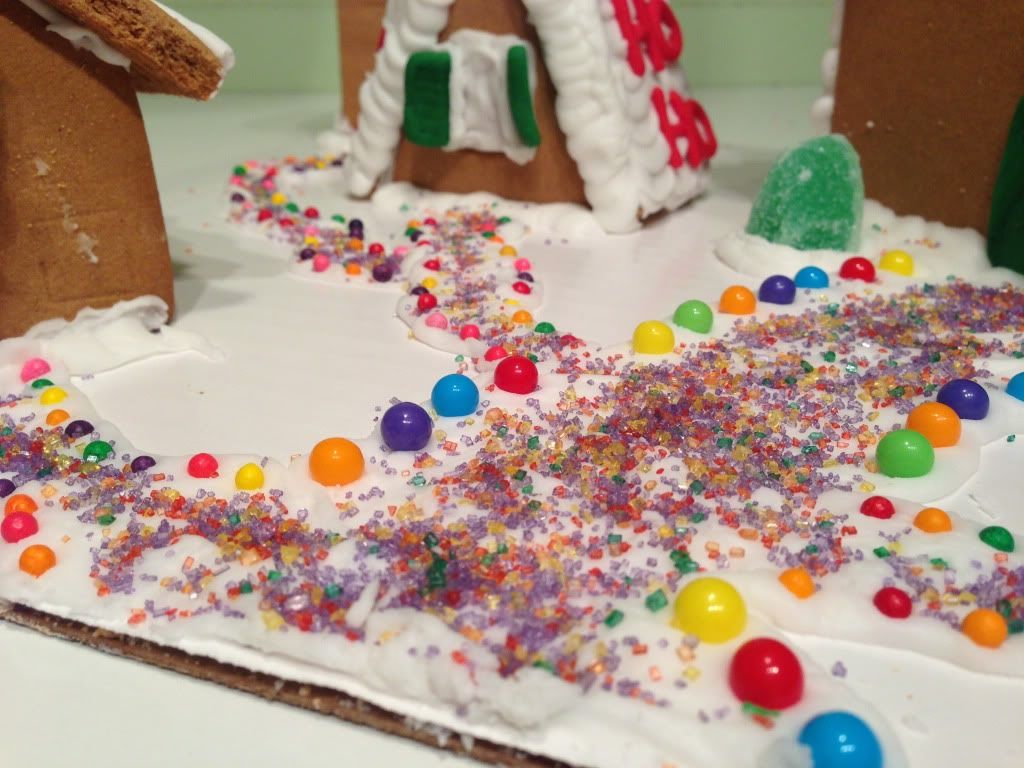
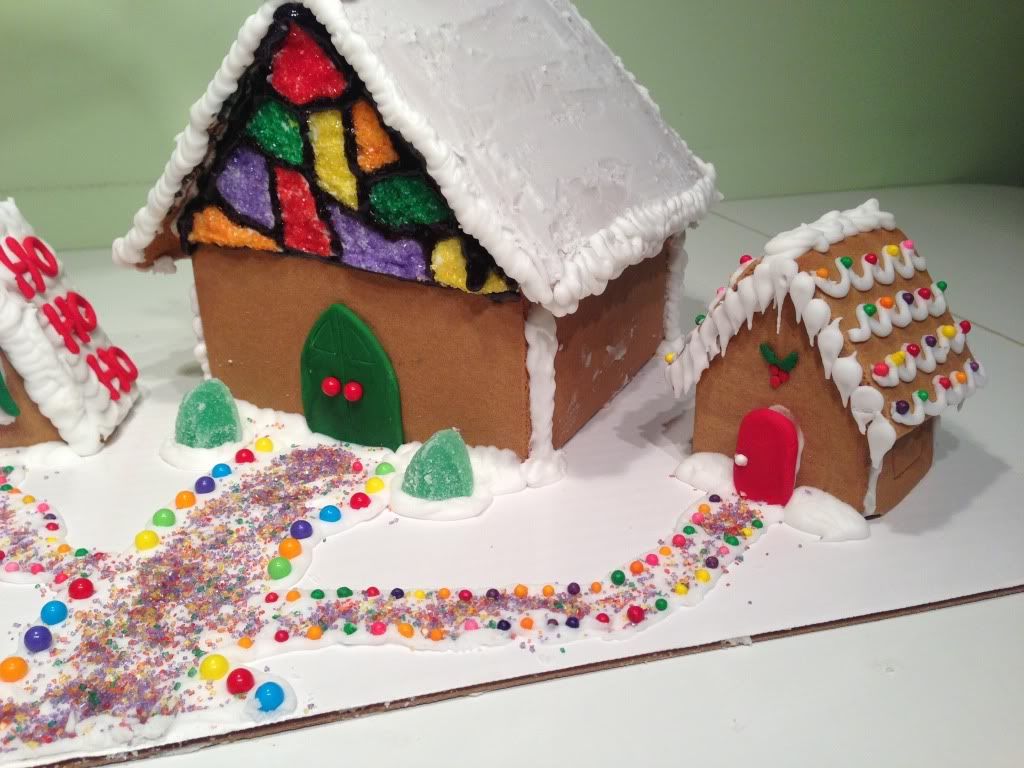
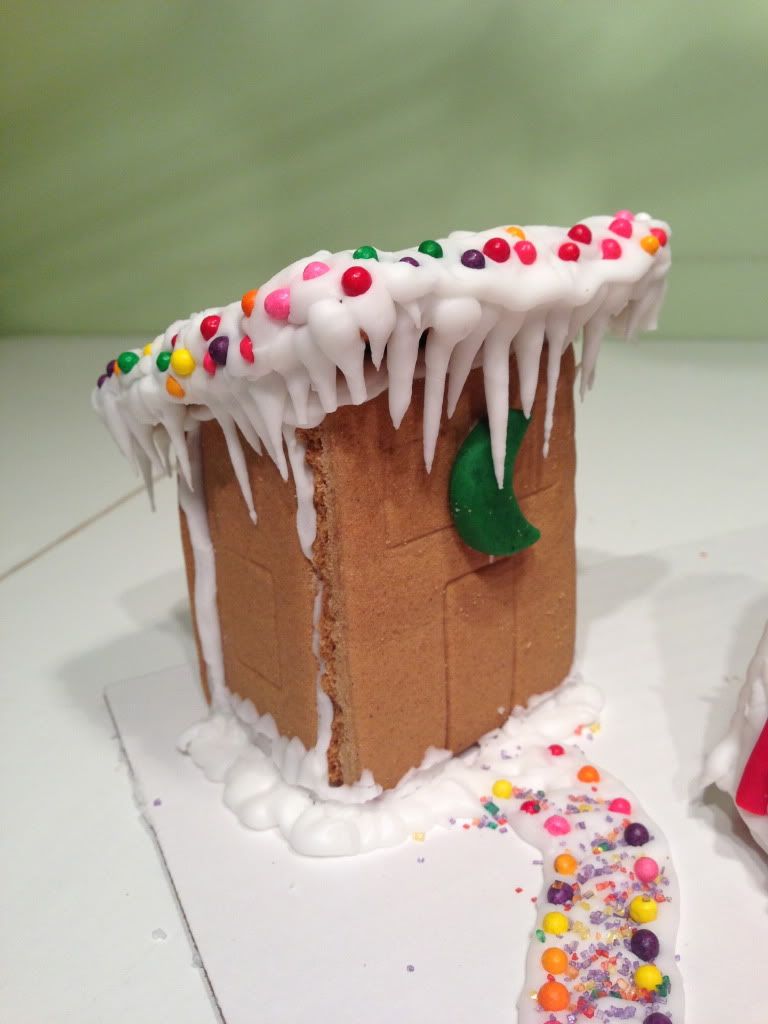
The Saturday before Christmas, my friend Kelsey and I made a gingerbread village. I had bought a gingerbread house kit earlier, and then saw a kit with four small gingerbread houses, so I had to get that, too, so I could make a whole village. Yes, I bought pre-made kits rather than making everything from scratch. If you must know, I hate gingerbread. I had to make it at home once, and the smell will haunt me forever. I had actually been thinking of making a house out of sugar cookie rather than gingerbread this year, but, you know how Christmas sneaks up on you, so this was quicker. Anyway, we had a lot of fun designing each little house and then decided that the big house would have to be the village church, complete with stained glass windows.


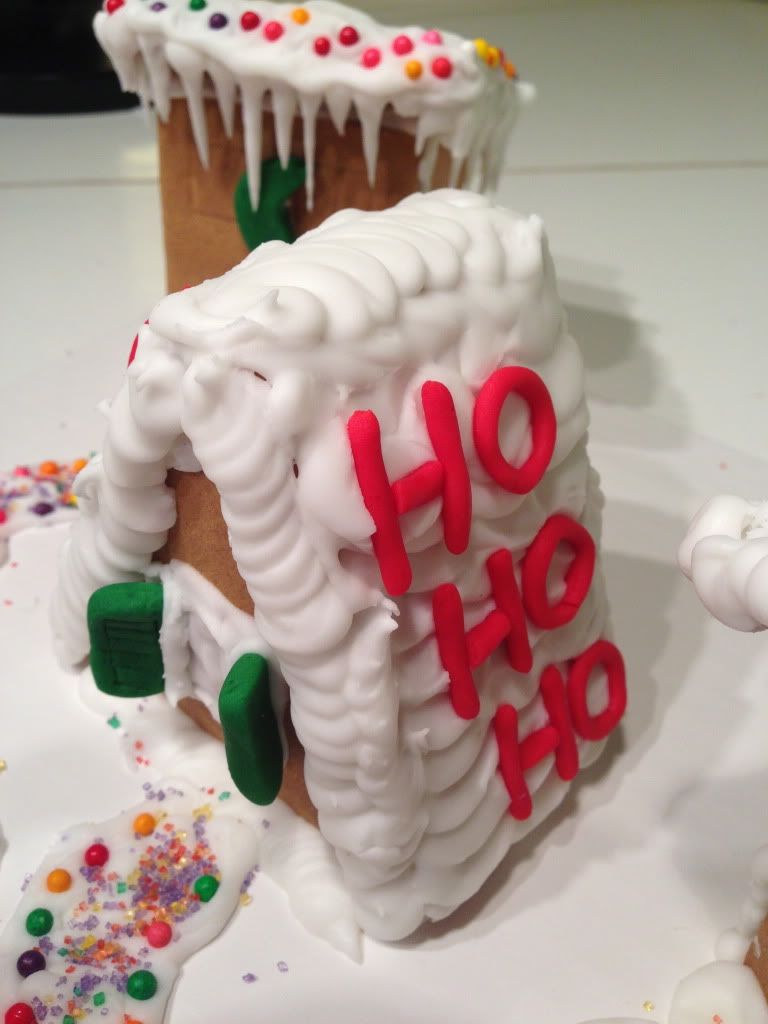
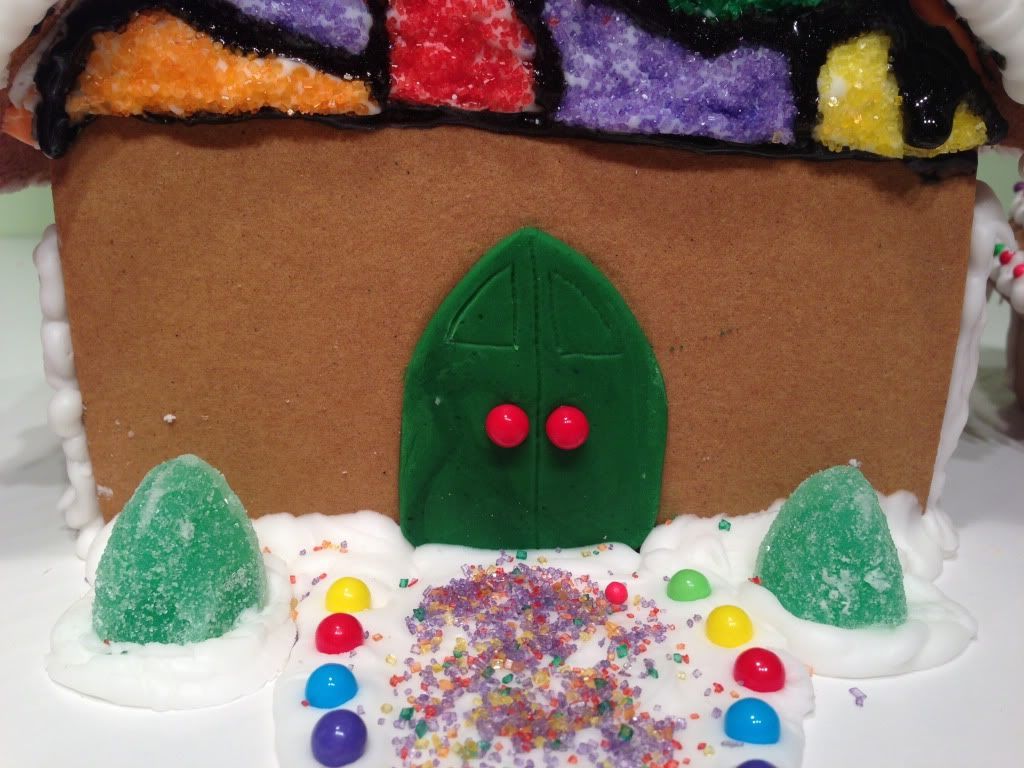
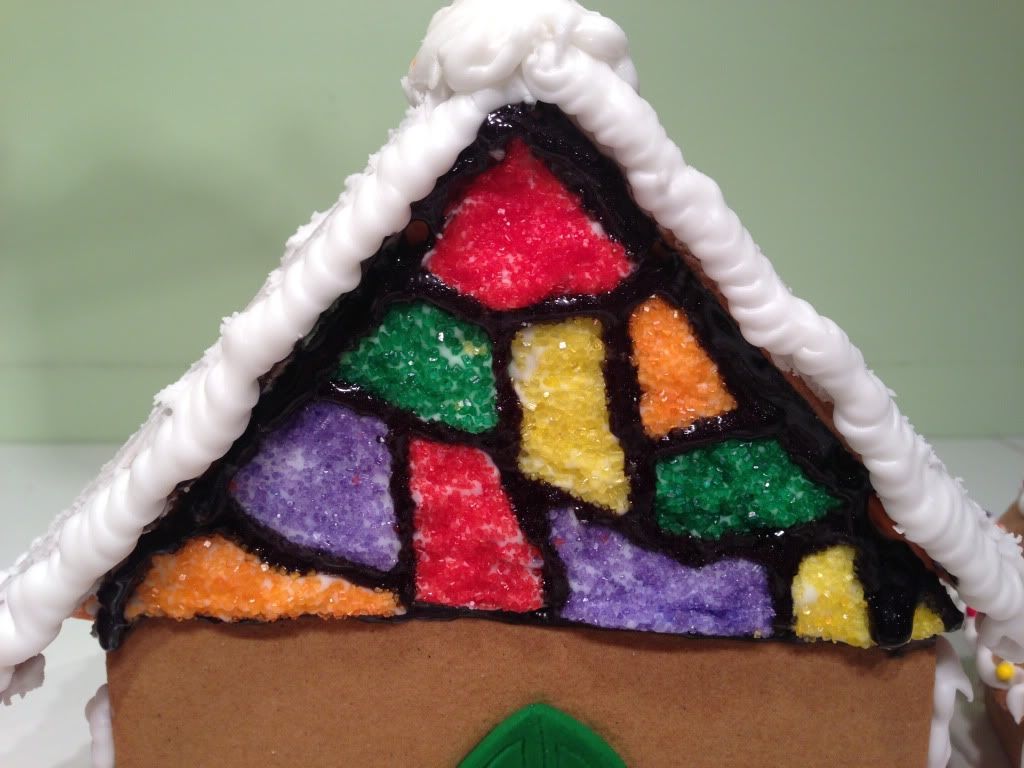
A few tips & tricks we learned:
- The icing that comes with the kits is great for adding snow, and gluing on the candies, but it does not dry quickly enough to use as the glue to hold your buildings together. We had a little accident trying to move our decorated church onto the board because of it. I decided to use what I learned when making gingerbread houses in school and use melted chocolate (I actually used Wilton Candy Melts) for the structural glue. It sets quicker and more secure. But, it's probably best to just build and decorate your house in its place. Don't try to move it.
- We used gum paste glue (gum paste & water) to glue some of the candies onto icing that was already drying, or any other tricky bits like our fondant door and sugar on our wreath. (This kit came with red and green fondant.)
- We created the stained glass look by pressing colored sugar into icing (very messy process) and then used a black decorating gel for the outlines.